
Culture & Traditions
The Art Of Tooling: Discovering Traditional Leather Stamping And Crafting Kits
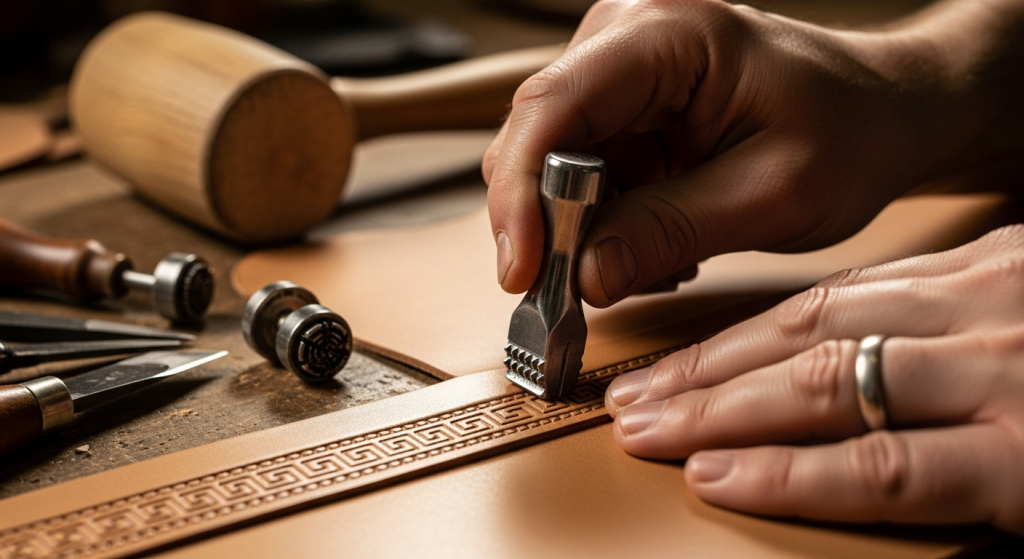
Few crafts evoke the rugged, frontier spirit of classic Americana quite like traditional leather stamping and tooling. From custom belts to handcrafted wallets, the tactile satisfaction of pressing intricate designs into thick leather is a timeless hobby that remains vibrant today. A leather stamp kit provides the essential tools to connect with this heritage craft and start stamping your own signature pieces. There’s a deep joy in working with your hands, transforming a simple piece of hide into something beautiful and lasting. I’ve spent my entire life marveling at the ingenuity and dedication of American crafters, and let me tell you, the world of leatherwork is one of the most rewarding.
The Heritage of American Leather Crafting and Saddle Making
When I think about the spirit of America, my mind often wanders to the vast, open plains and the brave souls who settled them. And what was indispensable to those pioneers? Leather. From the harnesses pulling covered wagons across the Oregon Trail to the rugged chaps worn by cowboys in the Wild West, leather was more than just a material; it was survival. The craft of saddle making, in particular, became an art form, a blend of necessity and intricate design that spoke volumes about the rider and their horse.
It wasn’t just about utility, though. As the country grew, so did the desire for beauty. Traditional leather tooling emerged as a way to personalize and adorn these vital items. Imagine the hands of an artisan in a dusty frontier town, carefully selecting his leather stamping tools, pressing patterns into a saddle flap. This wasn’t just work; it was a connection to identity, a way to leave a personal mark. The distinctive ‘western’ style of leather craft, characterized by its floral patterns, basketweave textures, and intricate border designs, didn’t just appear overnight. It evolved from a melting pot of European traditions, Native American artistry, and the unique demands of American life.
Here’s a surprising thought: even with all our modern advancements, the demand for quality handcrafted leather goods remains incredibly strong. According to a 2022 report by IBISWorld, the Leather & Related Product Manufacturing industry in the US, while mature, continues to generate billions of dollars in revenue, with a significant segment dedicated to specialty and handcrafted items. And get this: a 2023 survey by the Craft & Hobby Association indicated a steady increase in interest in traditional crafts, with leatherworking showing a 15% rise in participation among hobbyists over the last five years. People, young and old, are rediscovering the satisfaction of creating something tangible, something that lasts.
My grandfather, a man who saw the world change from horse and buggy to jet planes, used to say, ‘A good leather belt will outlast any two cheap ones.’ He had a simple wallet, made of sturdy cowhide, that he carried for fifty years. It developed a beautiful patina, a map of his life in every scuff and polish. That’s the beauty of leather – it ages with grace, tells a story, and becomes more characterful with time. This rich history isn’t just something to read about; it’s something you can touch and create with a simple leather stamp kit.
Fibermaxxing For Maximum Efficiency T Shirt
Wear your story with pride! Celebrate classic American values, history, and heritage with our premium crafted apparel, designed for comfort and durability.
Shop the Look →Essential Tools in a Beginner’s Leather Stamp Kit
Alright, you’re ready to dive in! That’s the spirit! For leathercraft for beginners, starting with the right tools is key. You don’t need a whole workshop right away, but a good foundational leather stamp kit will set you up for success. Think of it like a painter choosing their first set of brushes. Each tool has a purpose, and understanding them makes all the difference.
Basic Leather Stamping Tools You’ll Need:
Most starter kits will include the essentials, but it’s good to know what each piece does:
- Swivel Knife: This is your pencil, your brush. It’s used for cutting the initial design lines into the leather. Learning to control it takes practice, but it’s incredibly satisfying once you get the hang of it.
- Mallet or Maul: Not just any hammer! A specialized leather mallet (often rawhide or poly-head) provides the necessary weight and soft strike to drive your stamps without damaging them or the leather excessively.
- Stamping Tools (Stamps): These are the heart of your kit. They come in various shapes and designs:
- Bevelers: Used to create a beveled edge along your cut lines, giving your design depth and making it ‘pop.’
- Pear Shaders: Create shaded areas, often used for leaves and petals.
- Veiners: For intricate details like leaf veins or texture.
- Backgrounders: Used to depress the background around your main design, making the design stand out.
- Seeder: For small dots and decorative accents.
- Basketweave: Creates a classic woven pattern, excellent for filling larger areas.
- Strop and Honing Compound: Essential for keeping your swivel knife blade razor-sharp. A dull blade will tear the leather, not cut it cleanly.
- Sponge: For properly casing (wetting) your leather.
- Sturdy Work Surface: A granite slab or a thick piece of poly board provides a solid, flat surface to absorb the impact of your mallet strikes.
You might also find a leather carving kit that bundles these together. Don’t feel overwhelmed! Start simple, and you’ll naturally learn what other tools you might want as you progress.
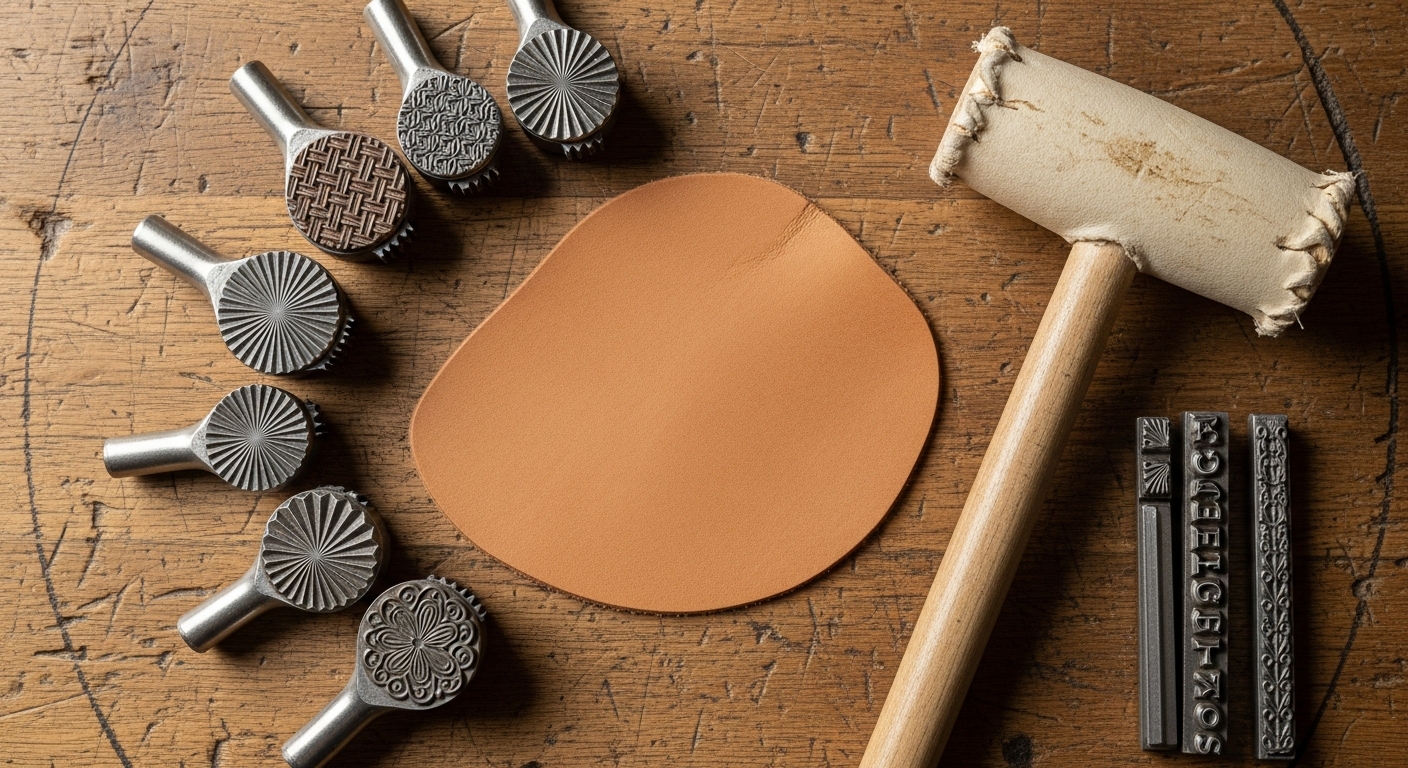
Let’s take a closer look at some common stamping tools you’ll encounter:
| Tool Type | Primary Use | Characteristic Shape/Pattern |
|---|---|---|
| Beveler (B) | Creates depth by compressing leather along cut lines, making designs ‘lift’. | Typically a wedge shape, various sizes and angles. |
| Pear Shader (P) | Adds texture and dimension to petals, leaves, and other rounded forms. | Teardrop or pear-shaped face, often textured. |
| Veiner (V) | Creates realistic veins on leaves and fine texture. | Narrow, often slightly curved or pointed face. |
| Backgrounder (Bkd) | Compresses the background area, making the main design stand out. | Textured face (e.g., checkered, pebbled), various sizes. |
| Seeder (S) | Creates small dots for flower centers or decorative accents. | Small, rounded, or pointed tip. |
| Basketweave (BW) | Produces an interlocking basketweave pattern, great for filling areas. | Rectangular or oval face with a cross-hatch or woven texture. |
Techniques for Perfect Impressions and Border Tooling
Now, let’s talk about how to actually make those beautiful designs come to life. Leather stamping techniques are all about control, rhythm, and a little patience. The key is in preparing your leather and understanding the ‘casing’ process.
Step-by-Step for Achieving Crisp Impressions:
- Casing the Leather: This is perhaps the most crucial step. Take your vegetable-tanned leather (it’s the best type for tooling) and lightly dampen it with a sponge. You want it moist, but not soaking wet. It should return to its original color after a few seconds of pressure from your finger. This is called ‘casing’ or ‘tempering.’ Too dry, and it won’t take an impression; too wet, and it will mash.
- Transferring Your Design: Sketch your design on a piece of tracing paper. Place the tracing paper on your cased leather. Using a stylus or a dull pencil, trace over your design with firm but not heavy pressure. This will leave an outline on the leather.
- Swivel Knife Cutting: With your sharp swivel knife, carefully cut along the traced lines. Hold the knife vertically and rotate the leather as you cut, not the knife. The depth of the cut should be about one-third to one-half the thickness of the leather.
- Tooling and Stamping: This is where the magic happens! Select your leather stamping tools. Start with bevelers. Place the beveler against your cut line, tilt it slightly away from the line, and strike it once or twice with your mallet. Move the tool slightly forward, overlapping the previous impression by about half, and strike again. Work your way around all your cut lines, ‘walking’ the beveler to create a consistent, smooth bevel.
- Adding Texture and Detail: Once your beveling is done, use your pear shaders, veiners, and backgrounders to add dimension. For backgrounding, strike firmly but consistently, ensuring an even, textured depression. Remember, consistent force is your friend for beautiful, even patterns.
Mastering Border Tooling for a Professional Finish:
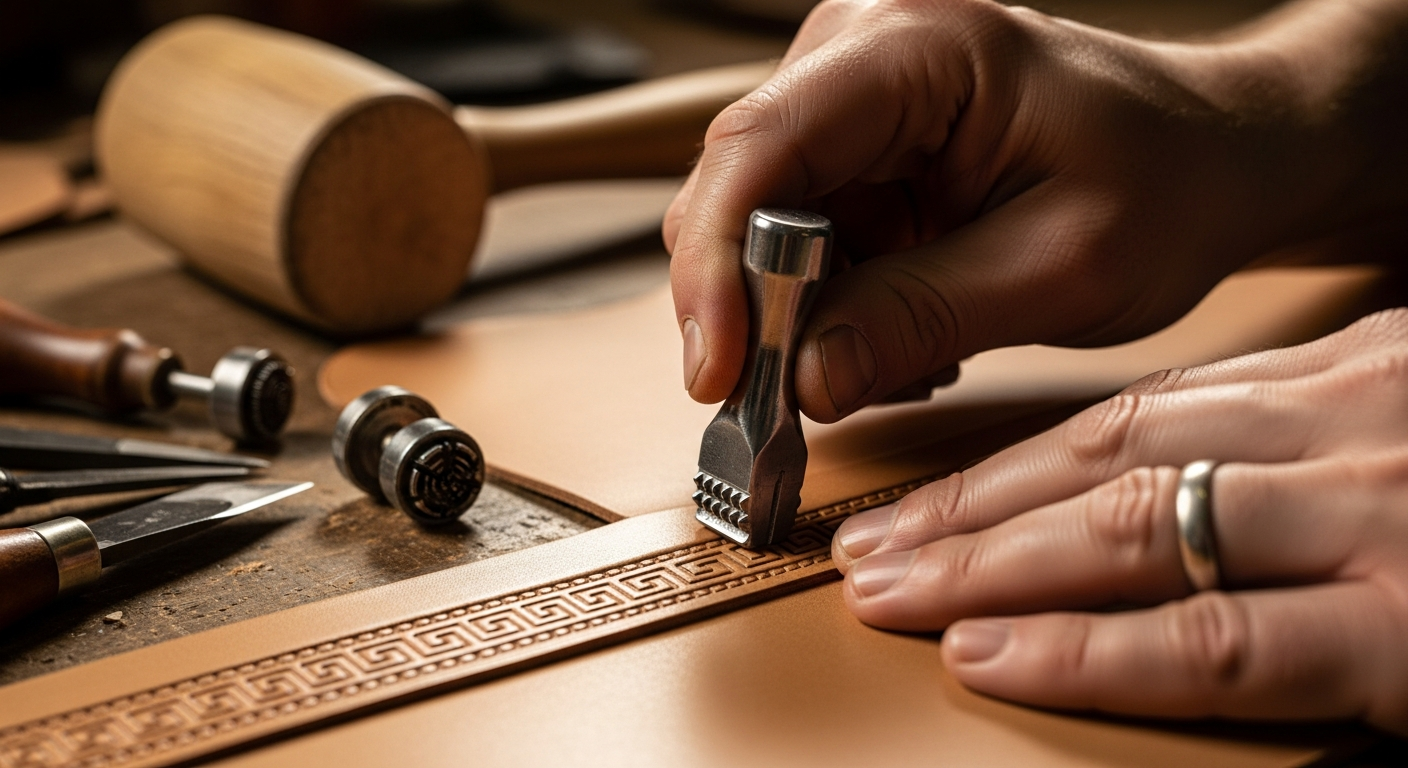
Border tooling is a fantastic way to frame your work and give handcrafted leather goods a truly professional and traditional look. Think of the intricate patterns you see on western leather craft belts and wallets – those are often border tools at work.
Here’s how you approach it:
- Choose Your Border Tool: There are many types: geometric stamps, rope stamps, basketweave, or even specific floral border stamps. Pick one that complements your main design.
- Measure and Mark: Lightly mark a guideline on your cased leather where you want your border to run. A wing divider or a ruler can help you maintain an even distance from the edge.
- Consistent Strikes: Place your border tool squarely on the guideline. Strike it once or twice with your mallet, aiming for consistent depth.
- Overlap and Align: Lift the tool straight up, move it forward, and overlap the previous impression by about one-third to one-half. Ensure the tool is perfectly aligned with the previous impression to create a seamless, continuous pattern. This is crucial for a clean look.
- Cornering Techniques: Corners require a bit of finesse. You might need to use a smaller version of your border tool, or angle your full-sized tool slightly, or even use a separate corner stamp designed to perfectly match your border. Practice on scrap leather first!
The beauty of traditional leather tooling is that it’s a skill built on practice. Don’t be discouraged if your first attempts aren’t perfect. Every strike is a lesson.
Easy DIY Projects: From Coasters to Personalized Leather Goods
So, you’ve got your leather stamp kit, you’ve practiced your strikes, and now you’re itching to create something. That’s the best part! The world of DIY leather projects is vast, but here are a few simple ideas to get you started, building your confidence with leather stamping techniques and creating genuinely useful items.
1. Custom Leather Coasters:
These are fantastic for beginners. They’re small, don’t require much leather, and let you experiment with different designs and leather stamping tools. I made a set for my daughter’s wedding last year, each with their initials and a simple border. They loved them!
- Materials: 3-4 oz vegetable-tanned leather scraps (about 4×4 inches per coaster), a leather stamp kit, leather dye or antique gel, leather finish.
- Steps:
- Cut your leather into desired shapes (squares, circles).
- Case the leather as described above.
- Transfer your design or simply start stamping freehand. Consider initials, a simple geometric pattern, or a small floral design.
- Once stamped, let the leather dry completely (24 hours is best).
- Apply a leather dye or antique gel to bring out the depth of your tooling. Wipe off excess.
- Apply a protective leather finish to seal and protect your coaster from moisture.
2. Personalized Keychains or Luggage Tags:
Another excellent project for practicing straight lines and small designs. These also make wonderful, thoughtful gifts.
- Materials: 5-6 oz vegetable-tanned leather strips (about 1×4 inches for keychains, 1.5×6 inches for luggage tags), a leather stamp kit, key rings or buckles, leather hole punch, leather dye/finish.
- Steps:
- Cut your leather strips to size. Punch holes for the key ring/buckle.
- Case the leather.
- Stamp your chosen design – names, dates, simple motifs, or even a brand logo. Border tooling works beautifully on these.
- Dry, dye, and finish as with the coasters.
- Attach your hardware.
3. Simple Leather Wallet or Card Holder:
Ready for a slightly bigger challenge? A simple card holder teaches you about assembly, stitching, and larger-scale tooling.
- Materials: 3-4 oz vegetable-tanned leather (about 4×8 inches for a simple fold-over card holder), a leather stamp kit, contact cement, leather stitching chisels/pricking irons, stitching thread, needles, leather dye/finish.
- Steps:
- Cut your leather pieces for the wallet body and any pockets.
- Case the main body piece and stamp your desired design. This is where your traditional leather tooling skills can really shine!
- Once dry, dye and finish the pieces.
- Apply contact cement to the edges of the pieces you wish to glue together (e.g., attach pockets to the main body). Let it dry tacky, then press firmly.
- Use stitching chisels to create even holes along the edges where you want to stitch.
- Hand stitch the pieces together using a saddle stitch.
There’s a deep satisfaction in holding a piece of handcrafted leather goods that you made yourself. It’s more than just a hobby; it’s a tangible link to a rich American past, a skill that fosters patience, creativity, and pride. Each piece you create carries a little bit of your own story, just like those saddle makers and pioneers who came before us. So grab that leather stamp kit, get a good piece of leather, and start making your mark. You’ll be amazed at what you can create.